

How To Register A Kernel With Jupyter Notebook
Link your Virtual Environs to Jupyter Using Kernels
Commencement prototyping immediately.
Introduction:
When I first started using Python, the concept of a virtual surroundings was extremely elusive to me. It oft took me hours of searching and experimenting with creating one only to end upwardly more dislocated than when I had started.
This article aims to be a one-stop-store for understanding what virtual environments exactly exercise, how to create them, and linking them to your Jupyter Notebook.
Table of Contents:
- What is a Virtual Environment?
- Create an Environment Using Anaconda
- Installing Packages into the Environment
- Using Virtual Environments in Jupyter as Kernels
- Deleting Environments and Kernels
What is a Virtual Surround?
Permit's first start with the story of Bob.
Bob works at a large financial firm every bit a Information Scientist. Bob and his team all utilize Python and regularly collaborate with each other on certain projects. Yet, since this financial firm is quite large, they all take numerous individual projects they are working on as well. Because of this, there needs to be a universal way to carve up these projects from each other to ensure they run on any computer with Python installed. This is where virtual environments come into play.
You tin can retrieve of a virtual environment as a specific copy of Python in your computer that you can specify yourself . This copy can exist any version of Python with whatsoever packages installed. Using virtual environments ensures that there are certain barriers betwixt projects. These barriers in place brand certain that anyone can run your version of Python regardless of what is on their computer.
Create an Surround using Anaconda
I will be using Anaconda in this tutorial as information technology makes creating and maintaining virtual environments extremely easy. If you do non have it downloaded, you can gear up the individual edition on Anaconda's website. It may have some time to download fully.
If you allow Anaconda to set up a PATH variable, and then you lot tin can follow what I practise on your command prompt. If y'all do not, you tin still follow these steps on your Anaconda Prompt that comes with the download.
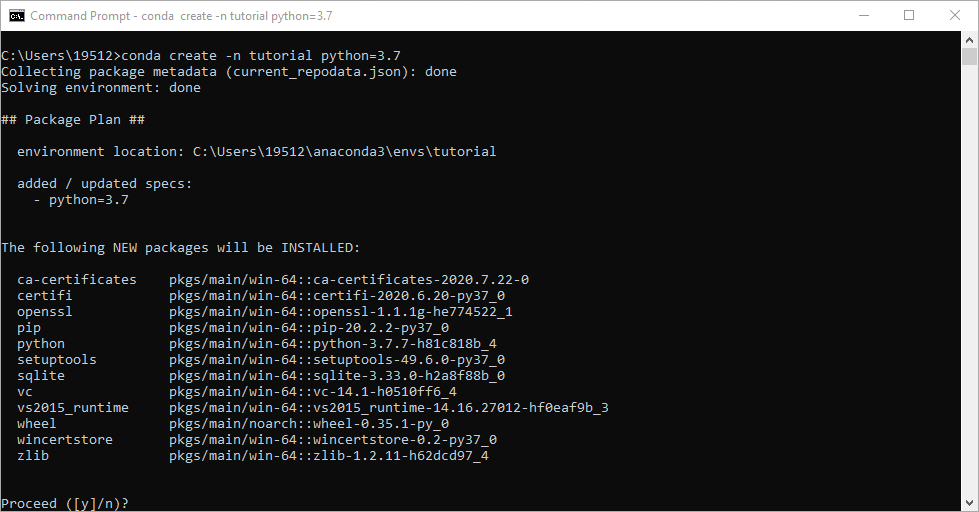
Let'south first start by creating a new environment. I will be naming it tutorial, only you tin call it whatever you similar:
$ conda create -n tutorial python=3.vii Notes:
-
-nindicates the name of the virtual environs -
python=3.sevenis optional and can be changed to whatsoever version. I prefer setting a specific version when creating the environs as it volition give y'all a "bare bones" Python surround to work within. - Yous will be asked to proceed with a ready of packages to be installed. Type in
yand striking Enter.
Installing Packages into the Environment
Now that our environment is created, we are given a prompt by Anaconda.
            #
# To actuate this surround, use
#
#     $ conda actuate tutorial
#
# To conciliate an active environment, use
#
#     $ conda conciliate
So we will do just that. To actuate our environment:
$ conda activate tutorial This what we should expect to come across:
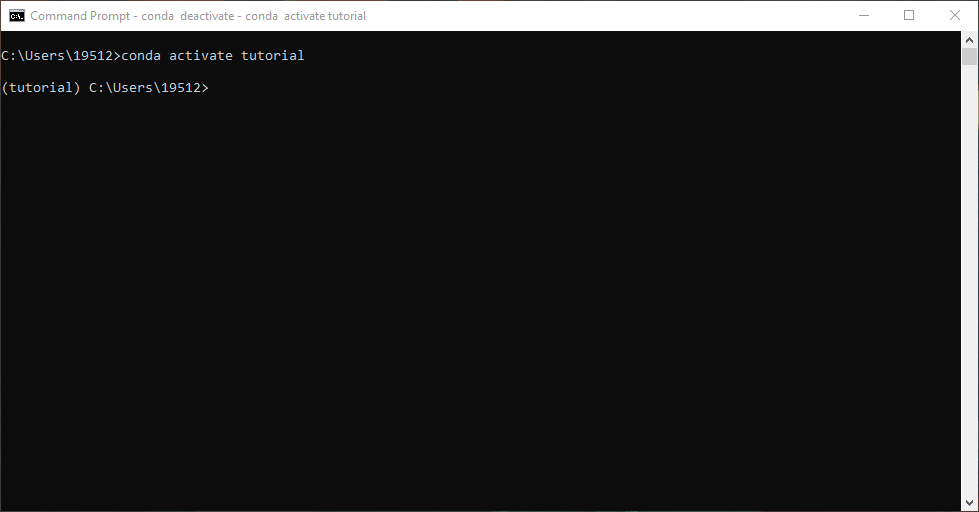
Notice how the proper name of the virtual surround is in parentheses appeared when we activated it. This is how we know we are within the environs.
To install packages, we can only utilise pip equally we would for any other packages. Since the aim of this article is to too let united states to employ the virtual surround in Jupyter, nosotros will install ipykernel to do the job for usa. However, you may install any needed packages for your projection at this stage.
$ pip install ipykernel Let the prompt run and install ipykernel. Nosotros can now create Python kernels for Jupyter.
Using Virtual Environments in Jupyter as Kernels
When using Jupyter notebooks, you lot tin can either use plain text or code. The lawmaking blocks we use are kernels. Nosotros can create new kernels with ipykernel.
When we create kernels, we can link it to our virtual environs. This becomes very useful when y'all are creating a new projection and you are unsure of the necessary packages you need. Whether you remove 2-thirds of the installed packages or install one more, the kernel volition always mirror the virtual environment we created.
To practise this:
$ python -1000 ipykernel install --user --proper noun=tutorial 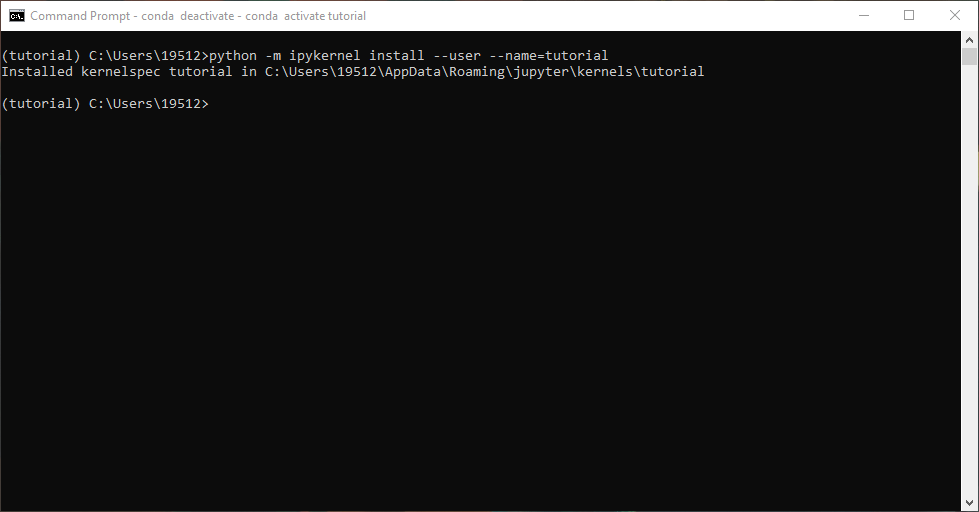
Now to verify if the kernel is in our Jupyter notebooks:
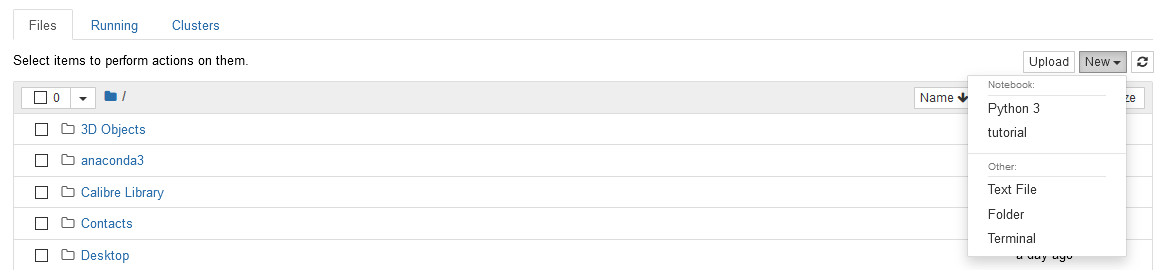
As you can see, tutorial is now bachelor every bit one of our kernels. We can now create new notebooks with this environment or utilize existing notebooks with this new kernel.
Removing Environments and Kernels
For direction purposes, I will also prove you lot how to reverse what we have accomplished in this article. First, deactivate your virtual environment.
$ conda deactivate You lot should see (tutorial) become away.
Removing Kernels:
Commencement, see the listing of kernels on your reckoner. If you lot have never washed this before reading this article, y'all should expect a list of 2 kernels: Python 3 and the kernel we just created.
$ jupyter kernelspec listing 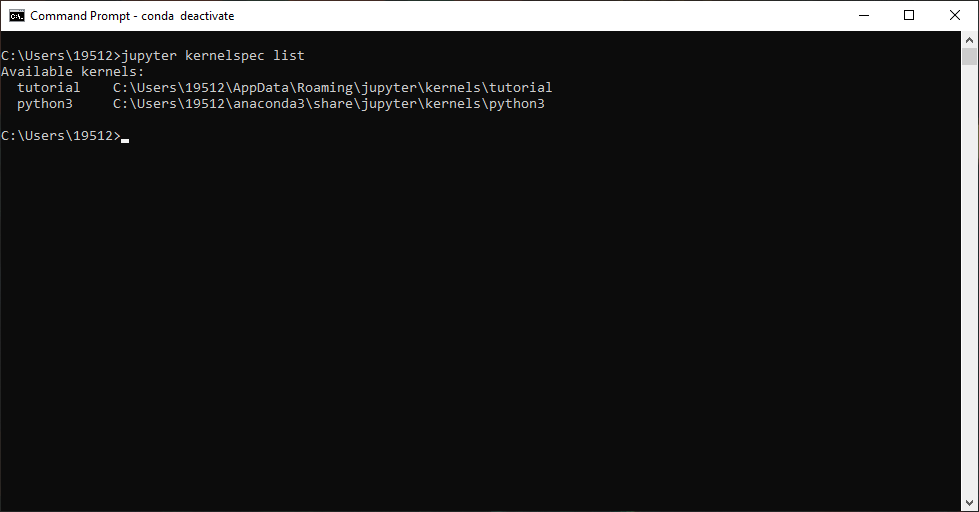
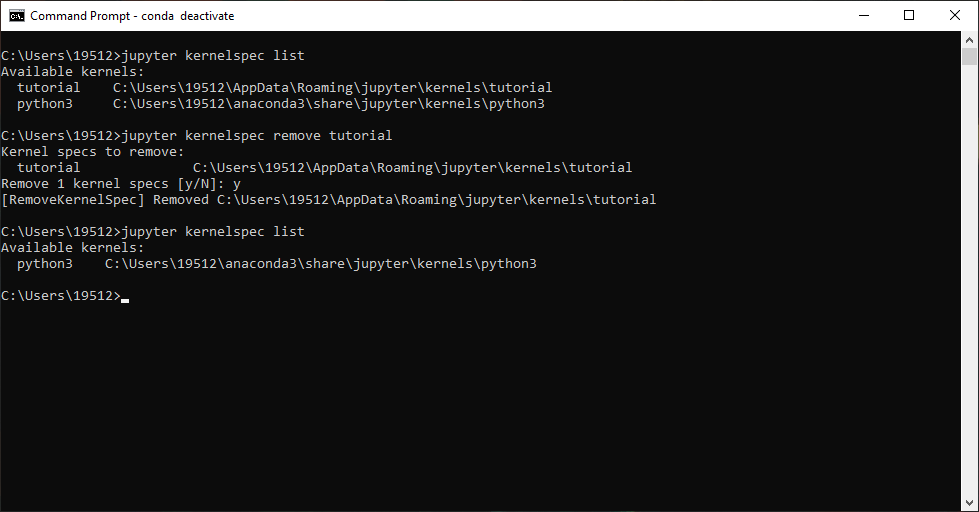
At present that we know what we accept, we know what to remove. To remove the kernel utilise the control below. You will be asked to verify with y over again.
$ jupyter kernelspec remove tutorial Once it has completed, verify once more that it has been removed with jupyter kernelspec list.
Removing Environments:
Removing virtual environments largely follows the same procedure every bit removing kernels. First, to view the list of environments nosotros have:
$ conda env listing 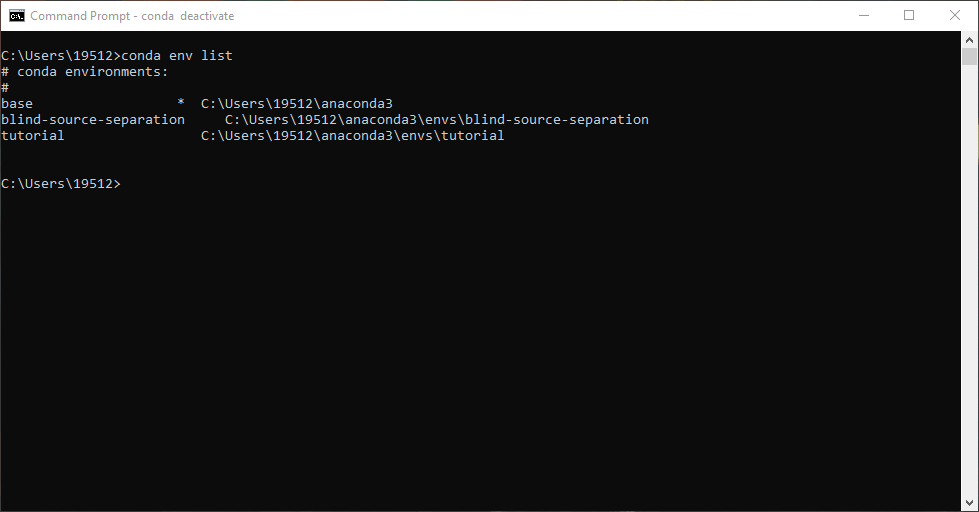
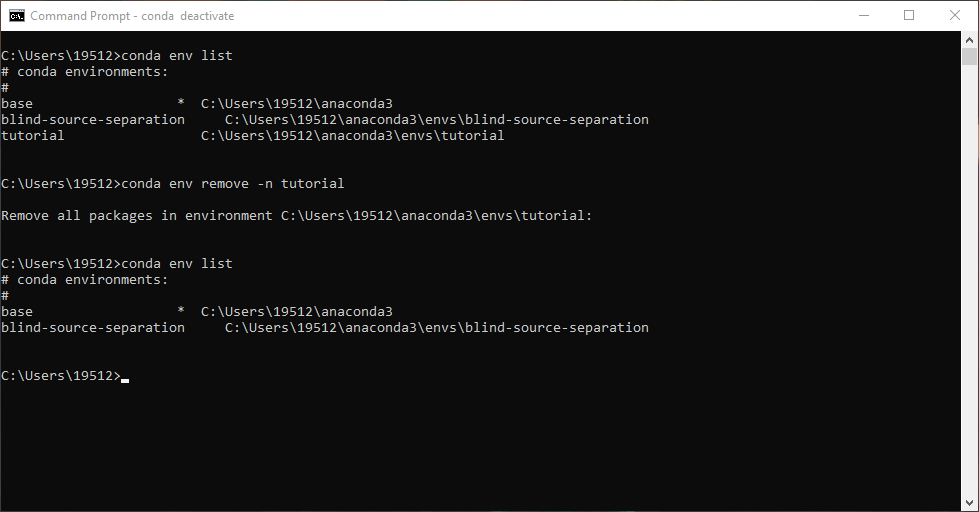
Do not worry if you exercise not take blind-source-separation in your list. This is one of my projects that I am working on personally. Yous should expect to come across base of operations and tutorial. To remove tutorial:
$ conda env remove -north tutorial In one case it has been removed, view the environment list for verification.
Conclusion:
I promise this tutorial helped y'all understand how to create virtual environments and link them to your Jupyter notebooks. Experience free to save this article to salve y'all time from searching for these procedures again and once again.
Thank you lot for reading.

How To Register A Kernel With Jupyter Notebook,
Source: https://towardsdatascience.com/link-your-virtual-environment-to-jupyter-with-kernels-a69bc61728df
Posted by: brownfastally.blogspot.com
0 Response to "How To Register A Kernel With Jupyter Notebook"
Post a Comment